


Corey at Viewpoint Campervans gave me this build order. It reflects a sequence tested repeatedly at the professional level. This isn’t Reddit theory or advice borrowed from an Instagram or YouTube “van lifer.” It’s a sequence refined in a professional shop environment, where mistakes cost real time and real money.
You don’t need to be a carpenter or electrician to build a functional campervan. But you do need to respect the sequence. Crafting a campervan isn’t as straightforward as you might first think. Curved walls, limited access, and tightly stacked systems mean one misstep often forces you to undo work you just finished.
This is the order that prevents those campervan build mishaps and allows you to complete your van more quickly.
Campervan DIY Build Sequence
- Lock in layout
- Roof rack
- Irreversible cuts
- Fill holes with components, seal, and test
- Sound deadening
- Electrical and plumbing rough-in (including pull-strings)
- Subfloor
- Insulation
- Structural interior framework
- Heater
- Wall and ceiling panels
- Interior furniture
- Final electrical and plumbing
- Interior finish trim
- Exterior upgrades
Lock In the Plan Before You Touch the Van
Before cutting anything, the layout must be defined at a systems level. Bed orientation and height, galley placement, heater location, window count, and major component placement all dictate the next steps.
This is where modular interior systems help. Choosing a structural system early — like the Lost Hiway Foundation Kit in my case — simplifies later decisions because mounting points, wall structure, and furniture attachment are already defined.
Guessing here, or assuming you’ll “figure it out later,” is how builds spiral into rework, time loss, and throwing tools in frustration. You don’t need to finalize every detail, but you do need to lock the constraints.
Roof Access, Cutting Holes, and Weatherproofing
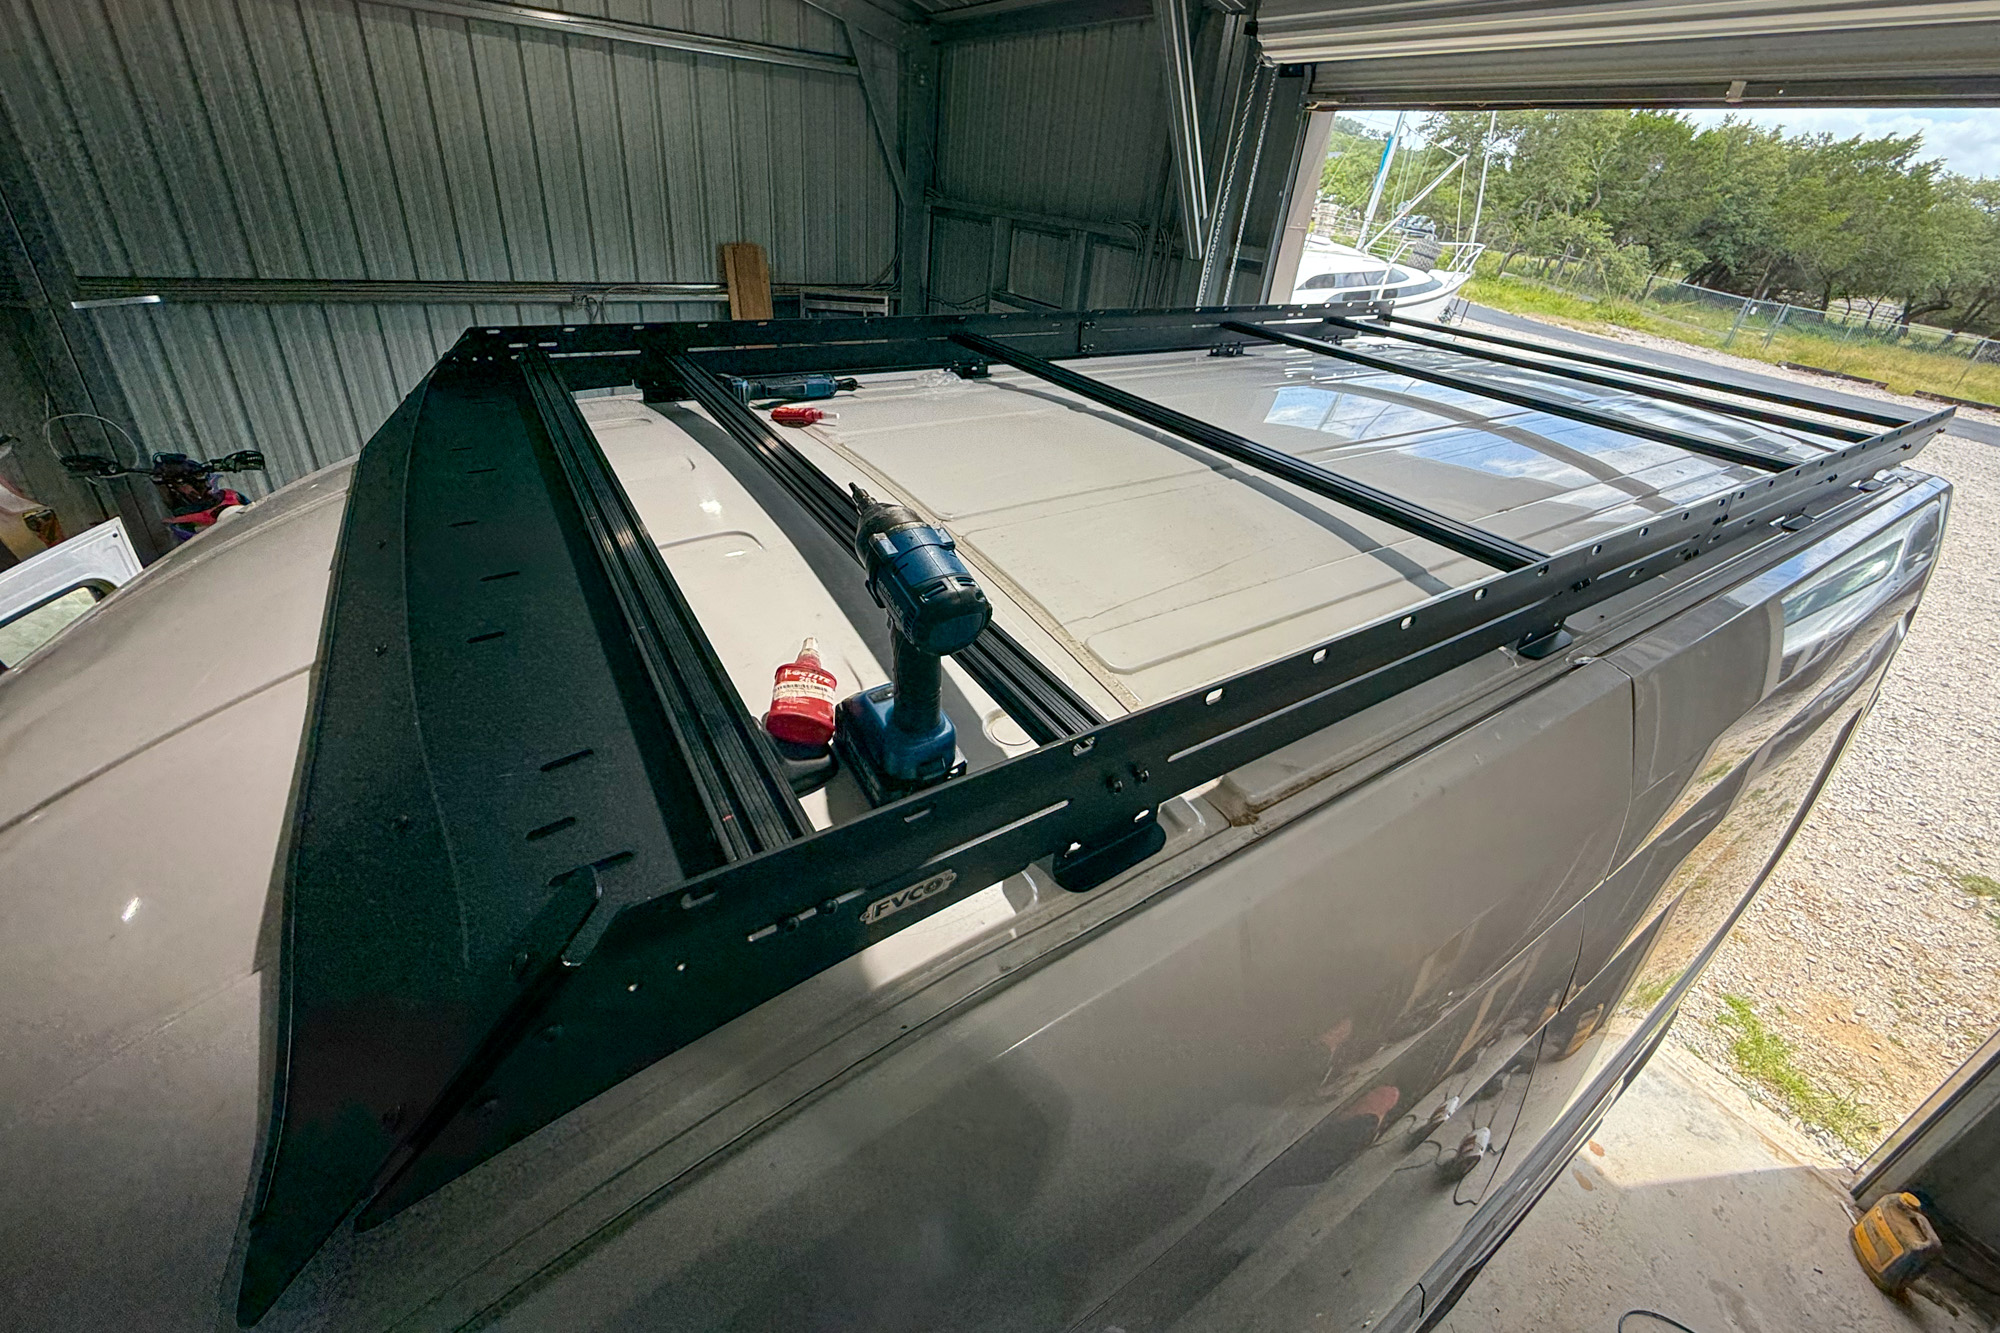
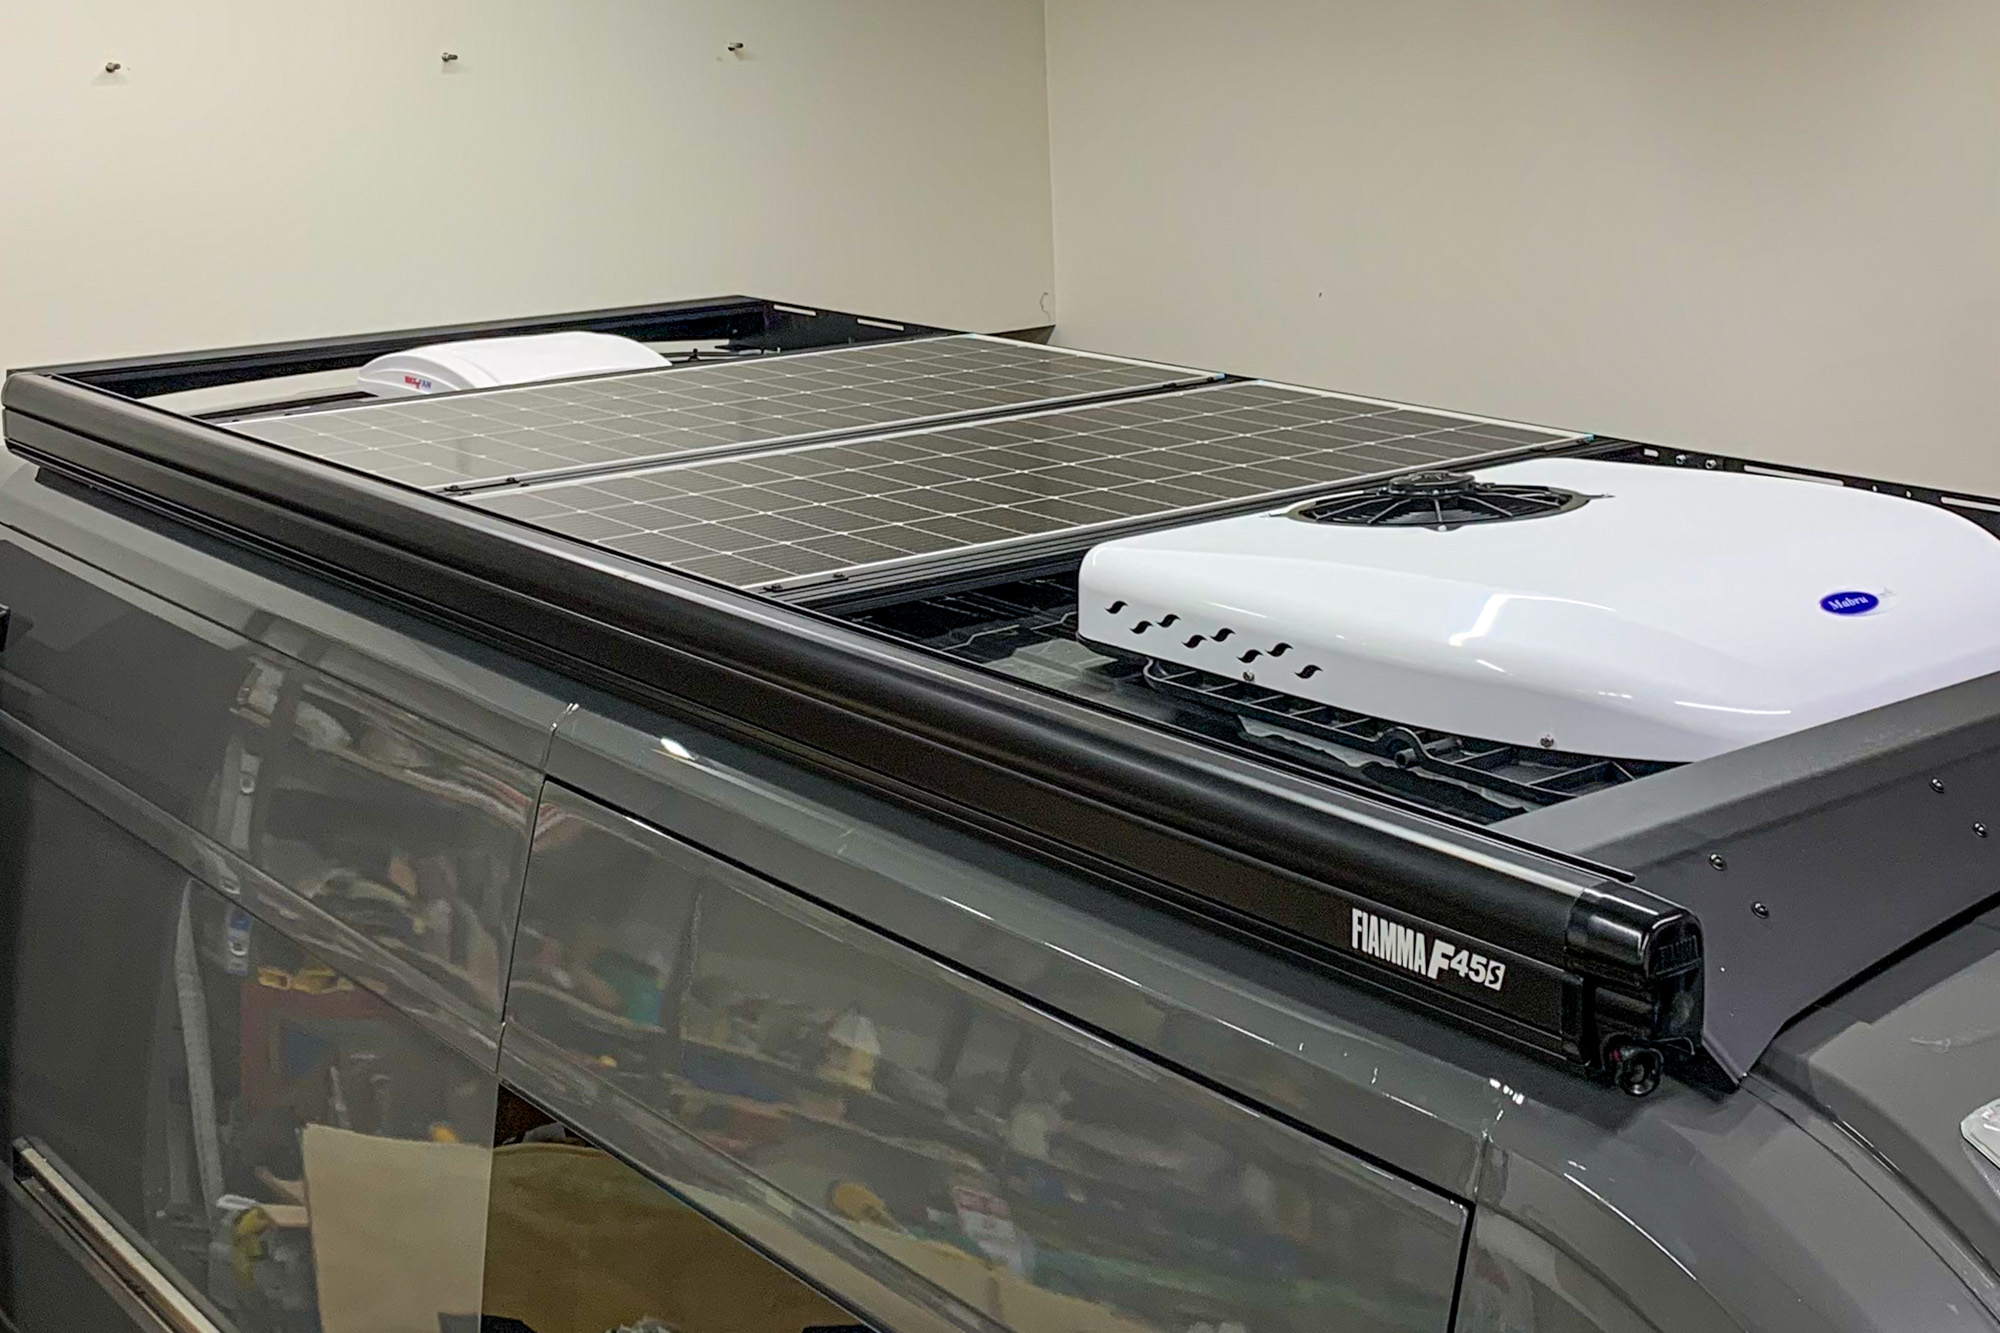
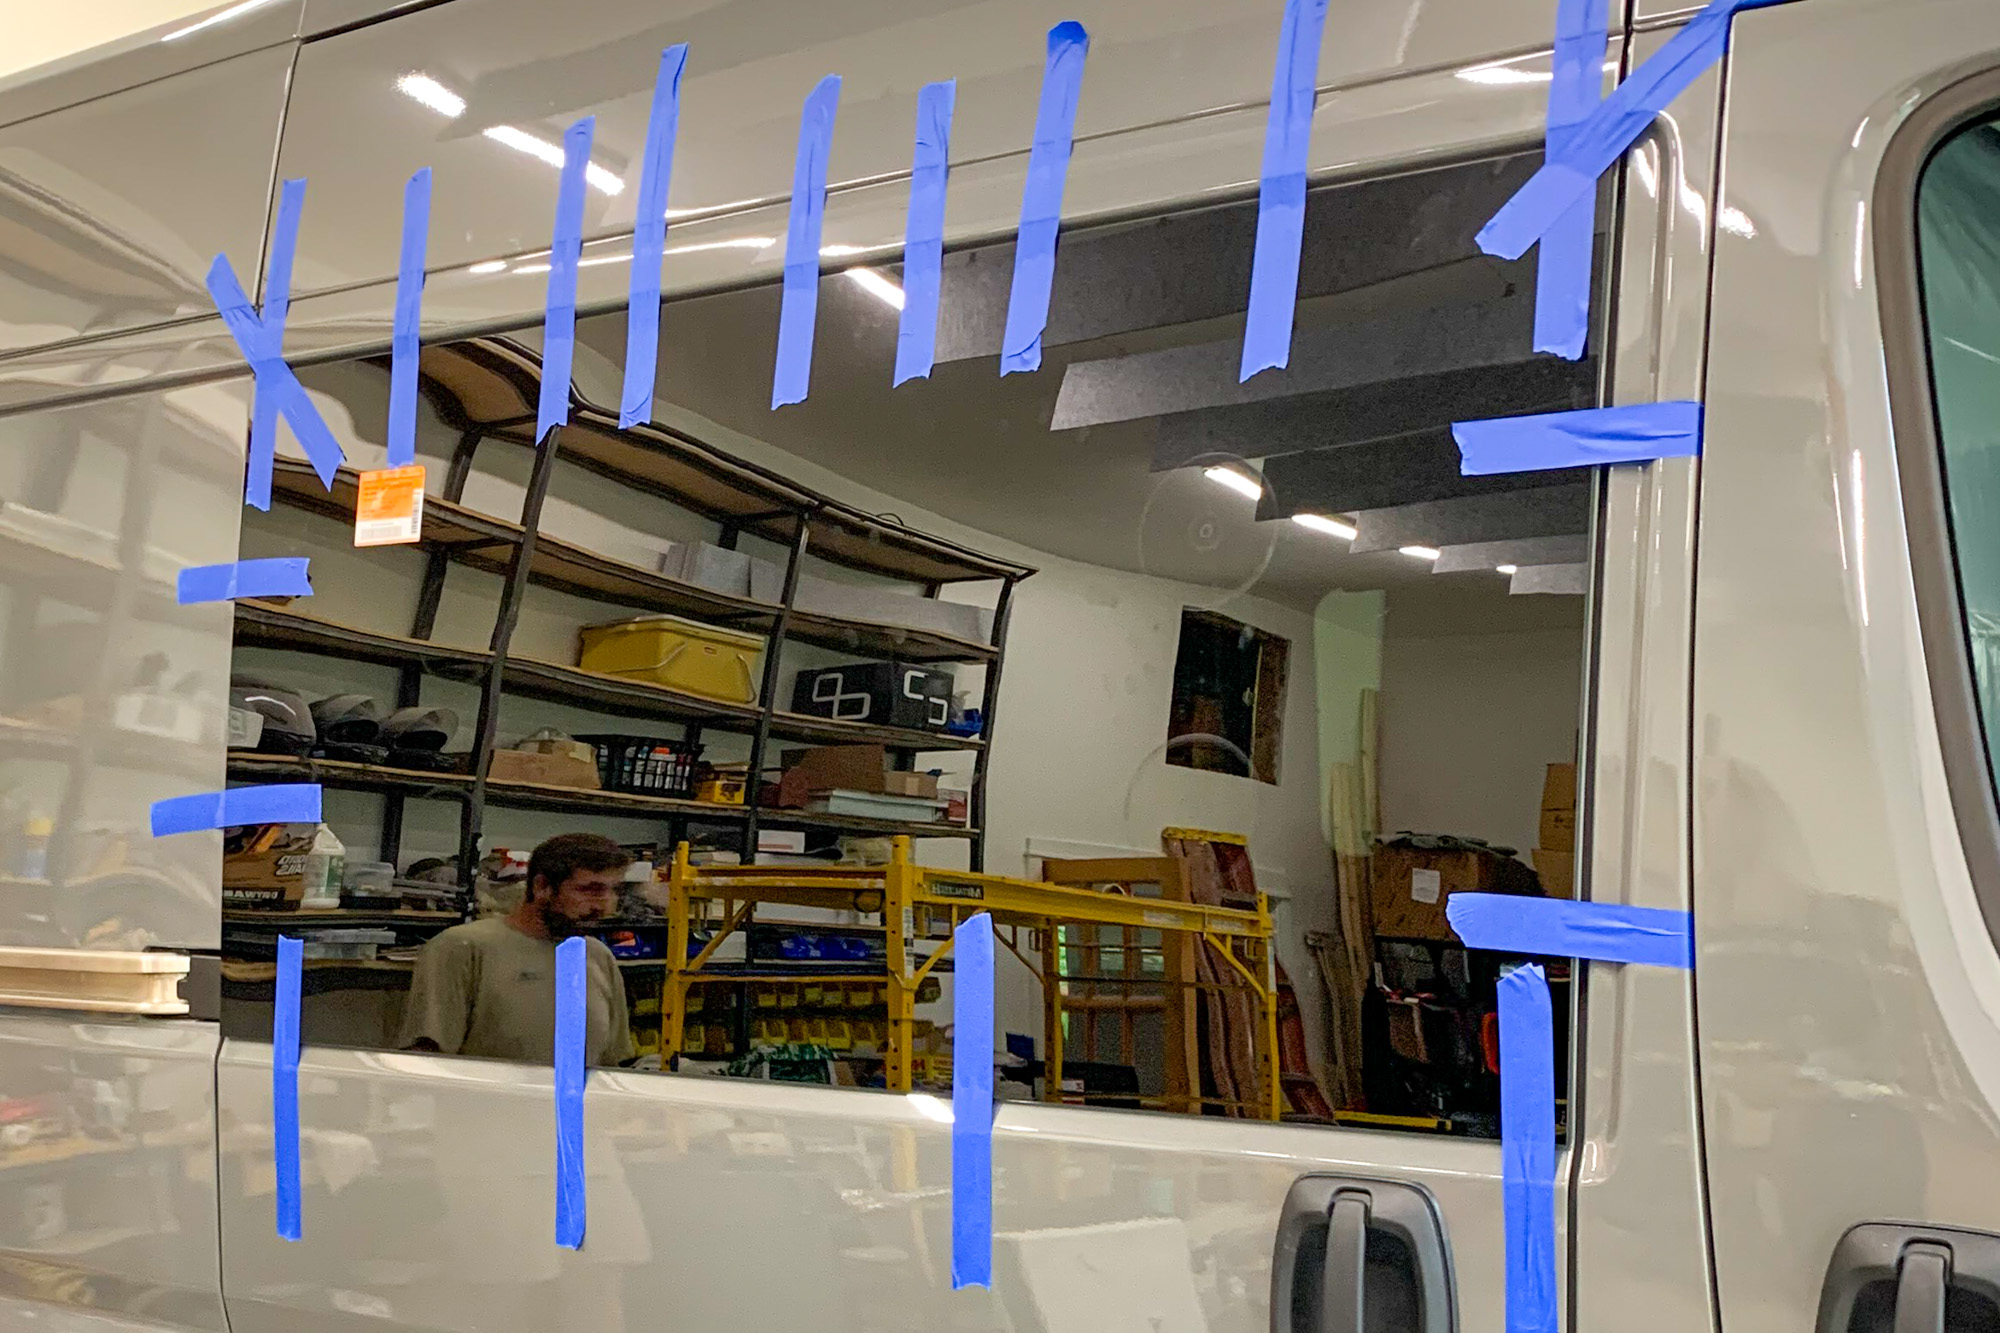
Installing a low-profile rack, such as the Flatline Van Co. system, provides safe access and establishes reference points for vents, air conditioning, and future solar placement. All irreversible cuts should be done in one phase:
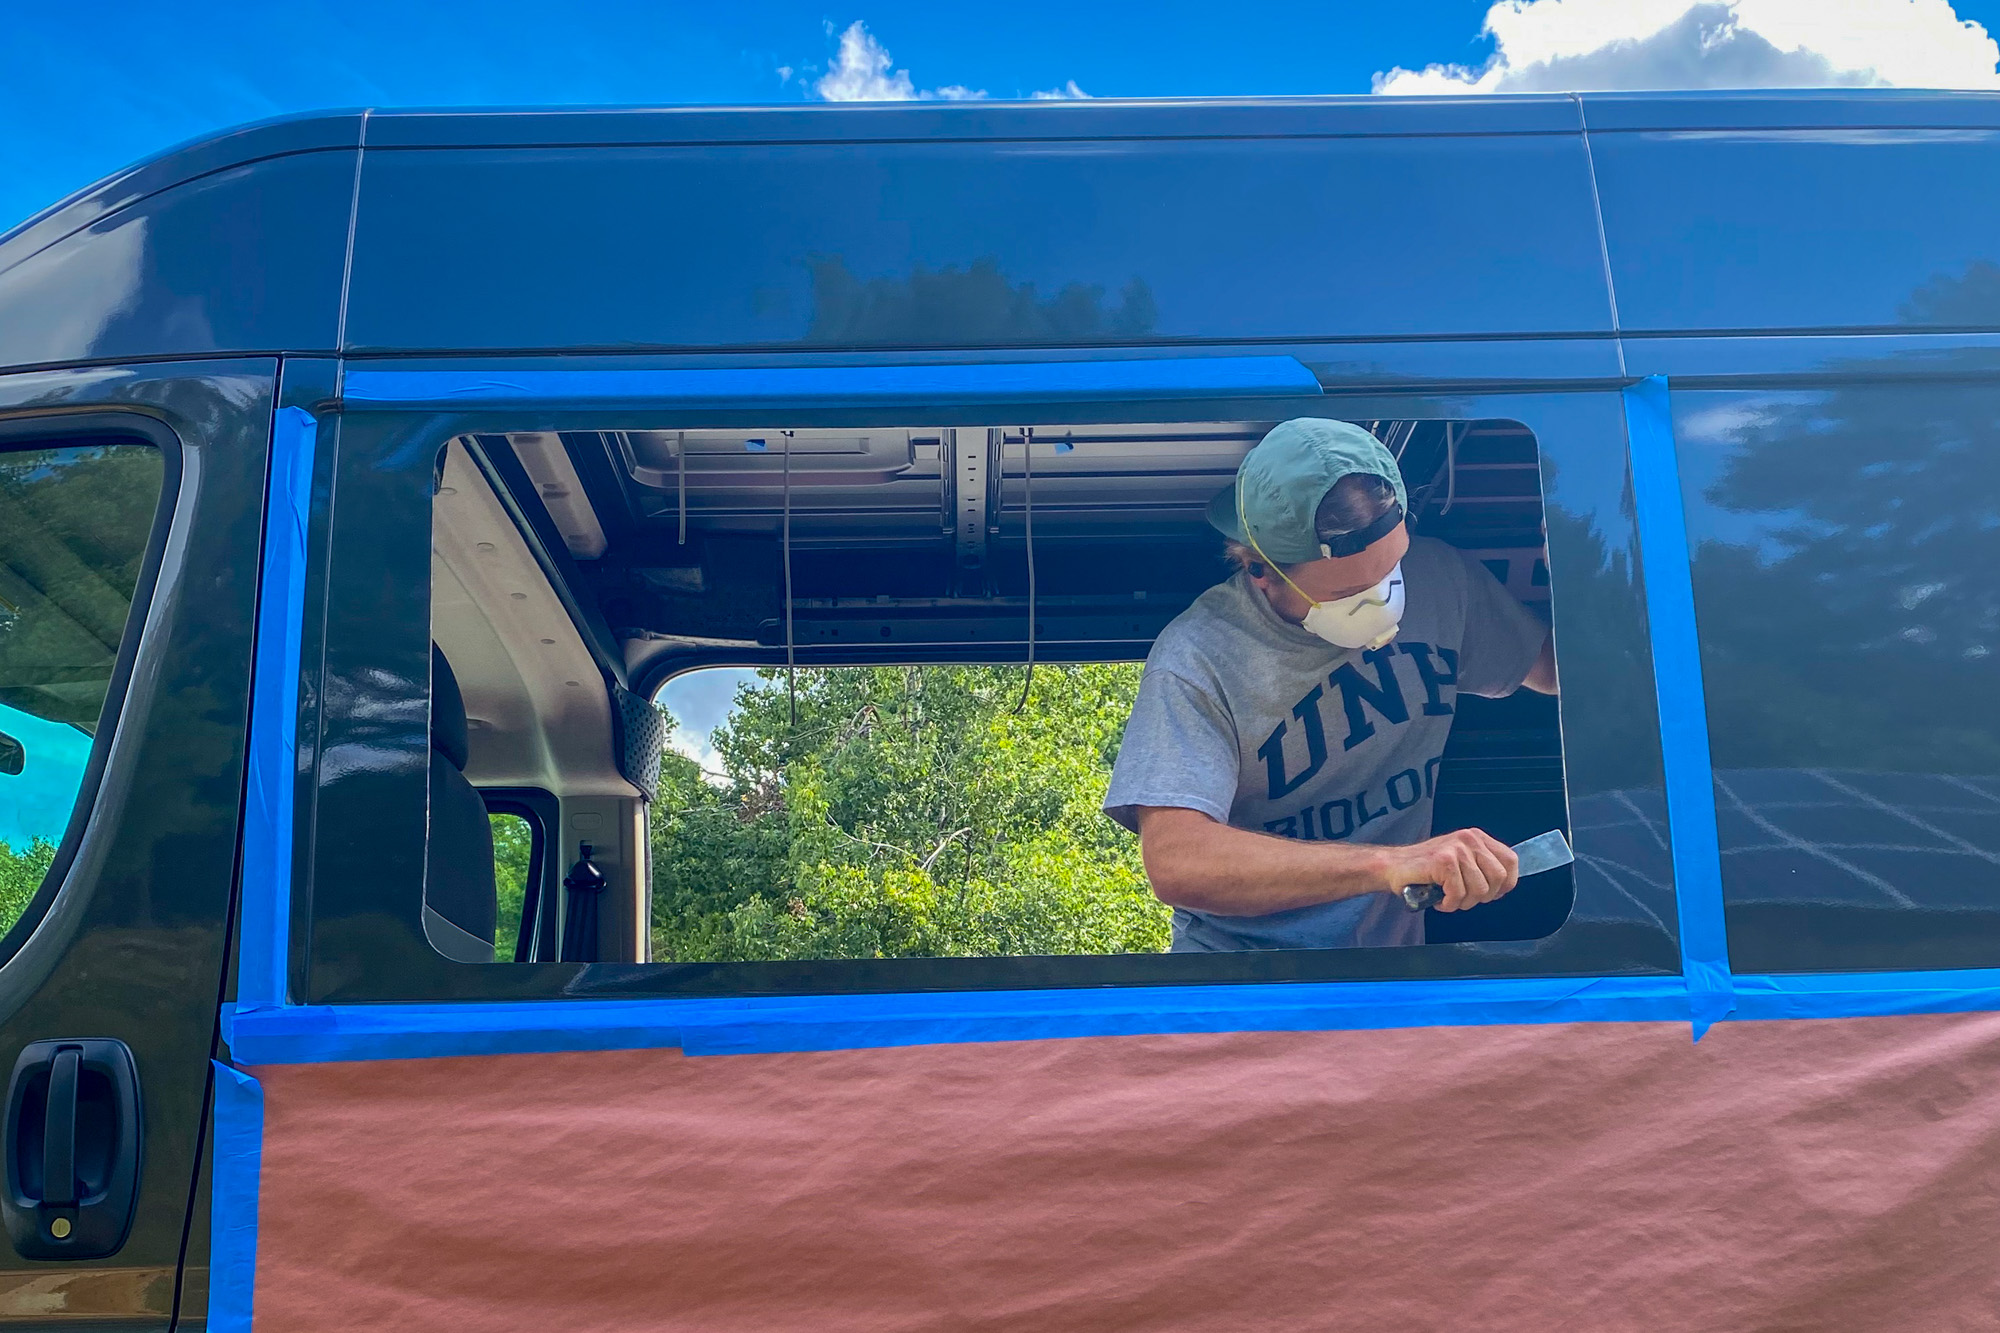
- Windows
- Roof vent
- Air conditioner
- Heater intake and exhaust
- Any planned wiring pass-throughs
Grouping these cuts matters. It makes consistent sealing more likely and avoids the trap of adding another hole after the insulation and panels are installed. Trust me, you don’t want to make “just one more hole” later. Before drilling the first starter hole, ensure you have a safe place to park and work on the van for the duration of this phase.
After installing windows, fans, and air conditioning, test your work. That means spraying water on seams, checking for leaks, and confirming that every penetration is sealed correctly before anything covers it. This is the easiest — and cheapest — time to fix mistakes. Once insulation and walls go in, leaks become slow, hidden problems.
Comfort Systems Before Cosmetics
Cargo vans are so much louder than passenger models. Sound deadening should be applied directly to the interior’s bare metal before you install insulation. Strategic placement on wheel wells, large wall sections, and the roof delivers the biggest improvement without unnecessary weight.
With sound deadening complete, electrical rough-in comes next. This is not final wiring — it’s about preserving access while you can.
Run speaker wire, roof wiring for fans, solar, or AC, and plan locations for outlets, lighting, and any future accessories.
This is also when you install pull strings: simple lengths of cord or wire left in place so you can pull future cables through without tearing walls apart. If you think you might add something later, install a pull string now. It costs almost nothing and can save hours of frustration later. Nothing gets connected at this stage. You’re only establishing paths.
Floor, Insulation, and Structure
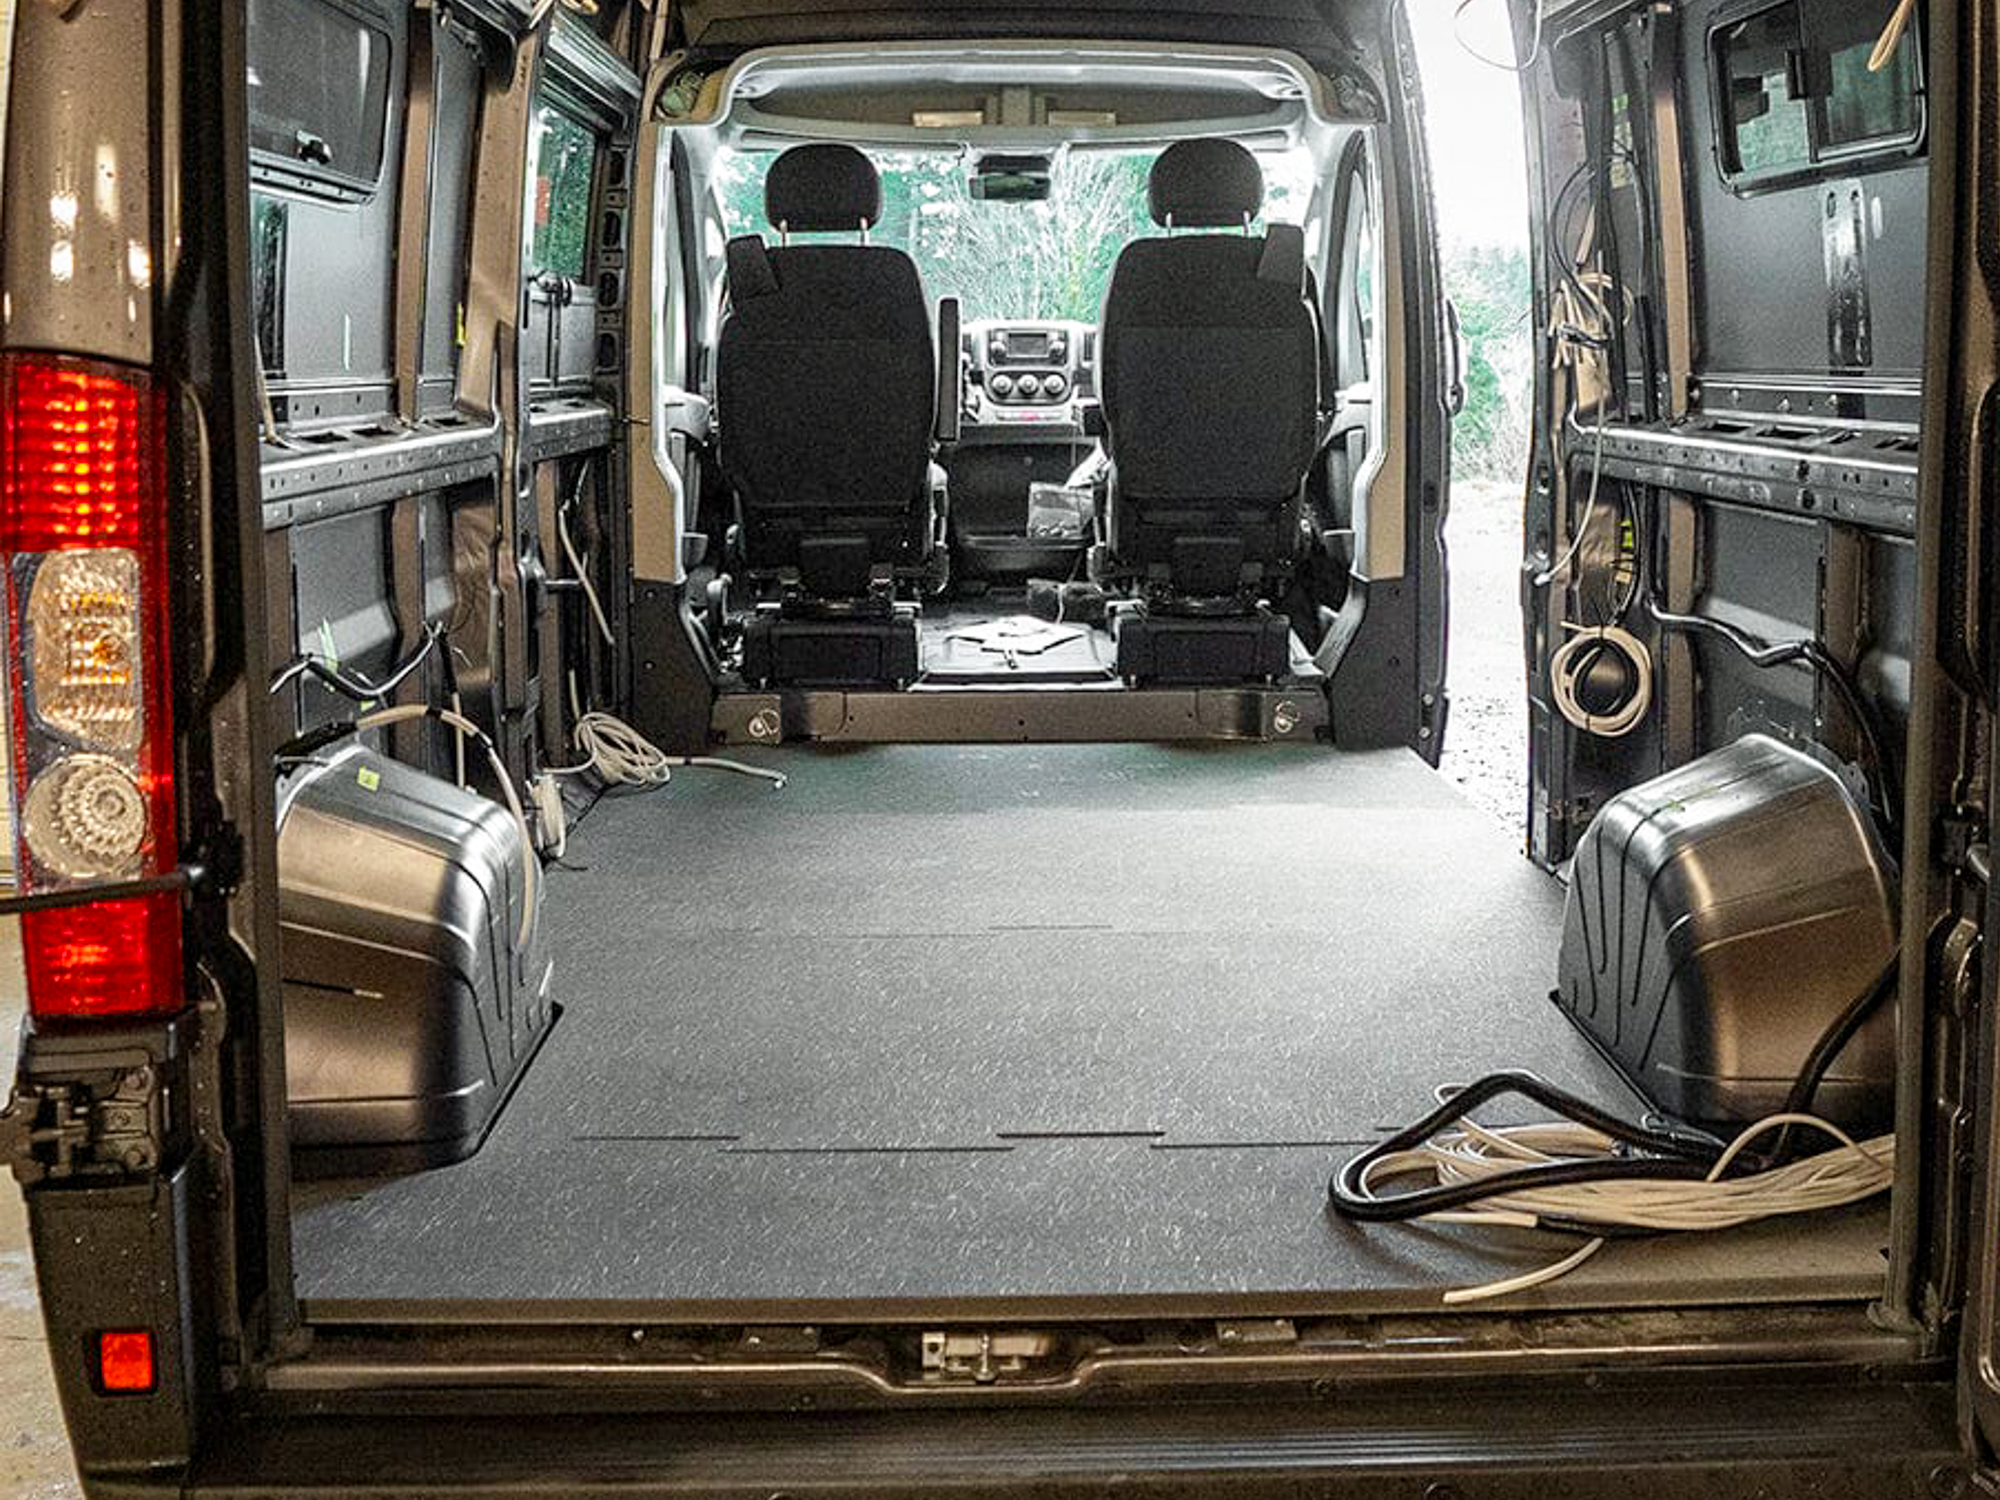
With wiring paths established, install the subfloor next. Systems like the Rainier composite floor from Campervan HQ simplify this step. Everything is pre-cut and uses factory anchor points, eliminating hours of pattern-making, cutting, and guesswork.
Insulation comes after the floor and rough wiring. Hydrophobic materials matter here — anything that absorbs moisture or odor becomes a long-term problem in a sealed van.
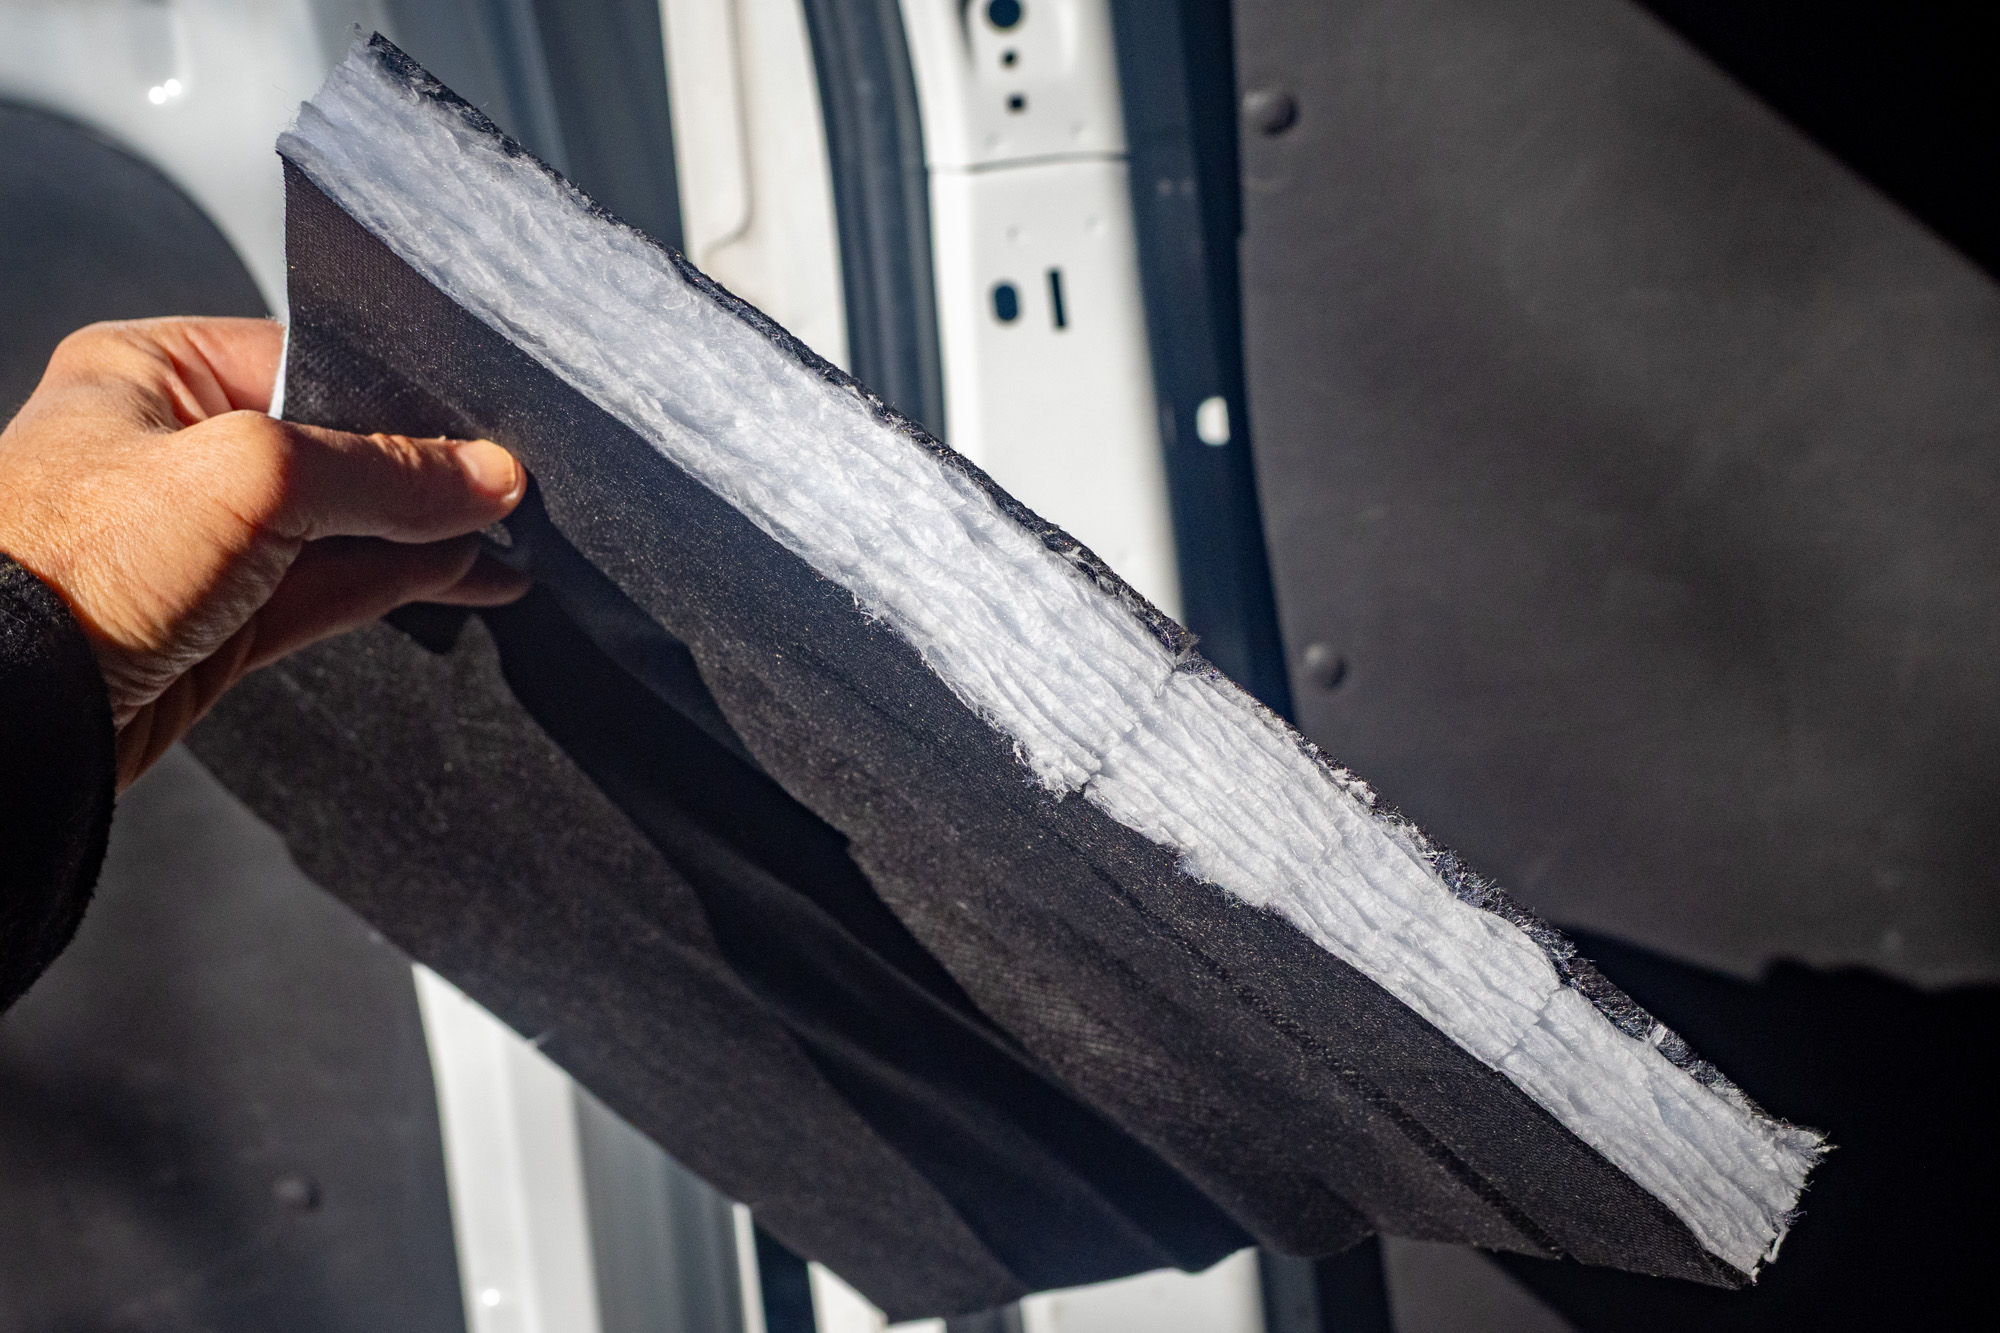
I chose the Campervan HQ Thinsulate Insulation Kit, which significantly reduces the time this step takes. The material is pre-cut for the van’s panels, eliminating hours of measuring, trimming, and redoing pieces that don’t fit. Insulation is already tedious work; removing unnecessary decision-making keeps the build moving without compromising performance.
I don’t use vapor barrier liners in vans. No matter how careful you are, moisture gets in — from humidity, temperature swings, and daily use — and it’s nearly impossible to seal every penetration. Once moisture is trapped, it can’t dry out. A van isn’t a laboratory, and treating it like one usually creates more problems than it solves.
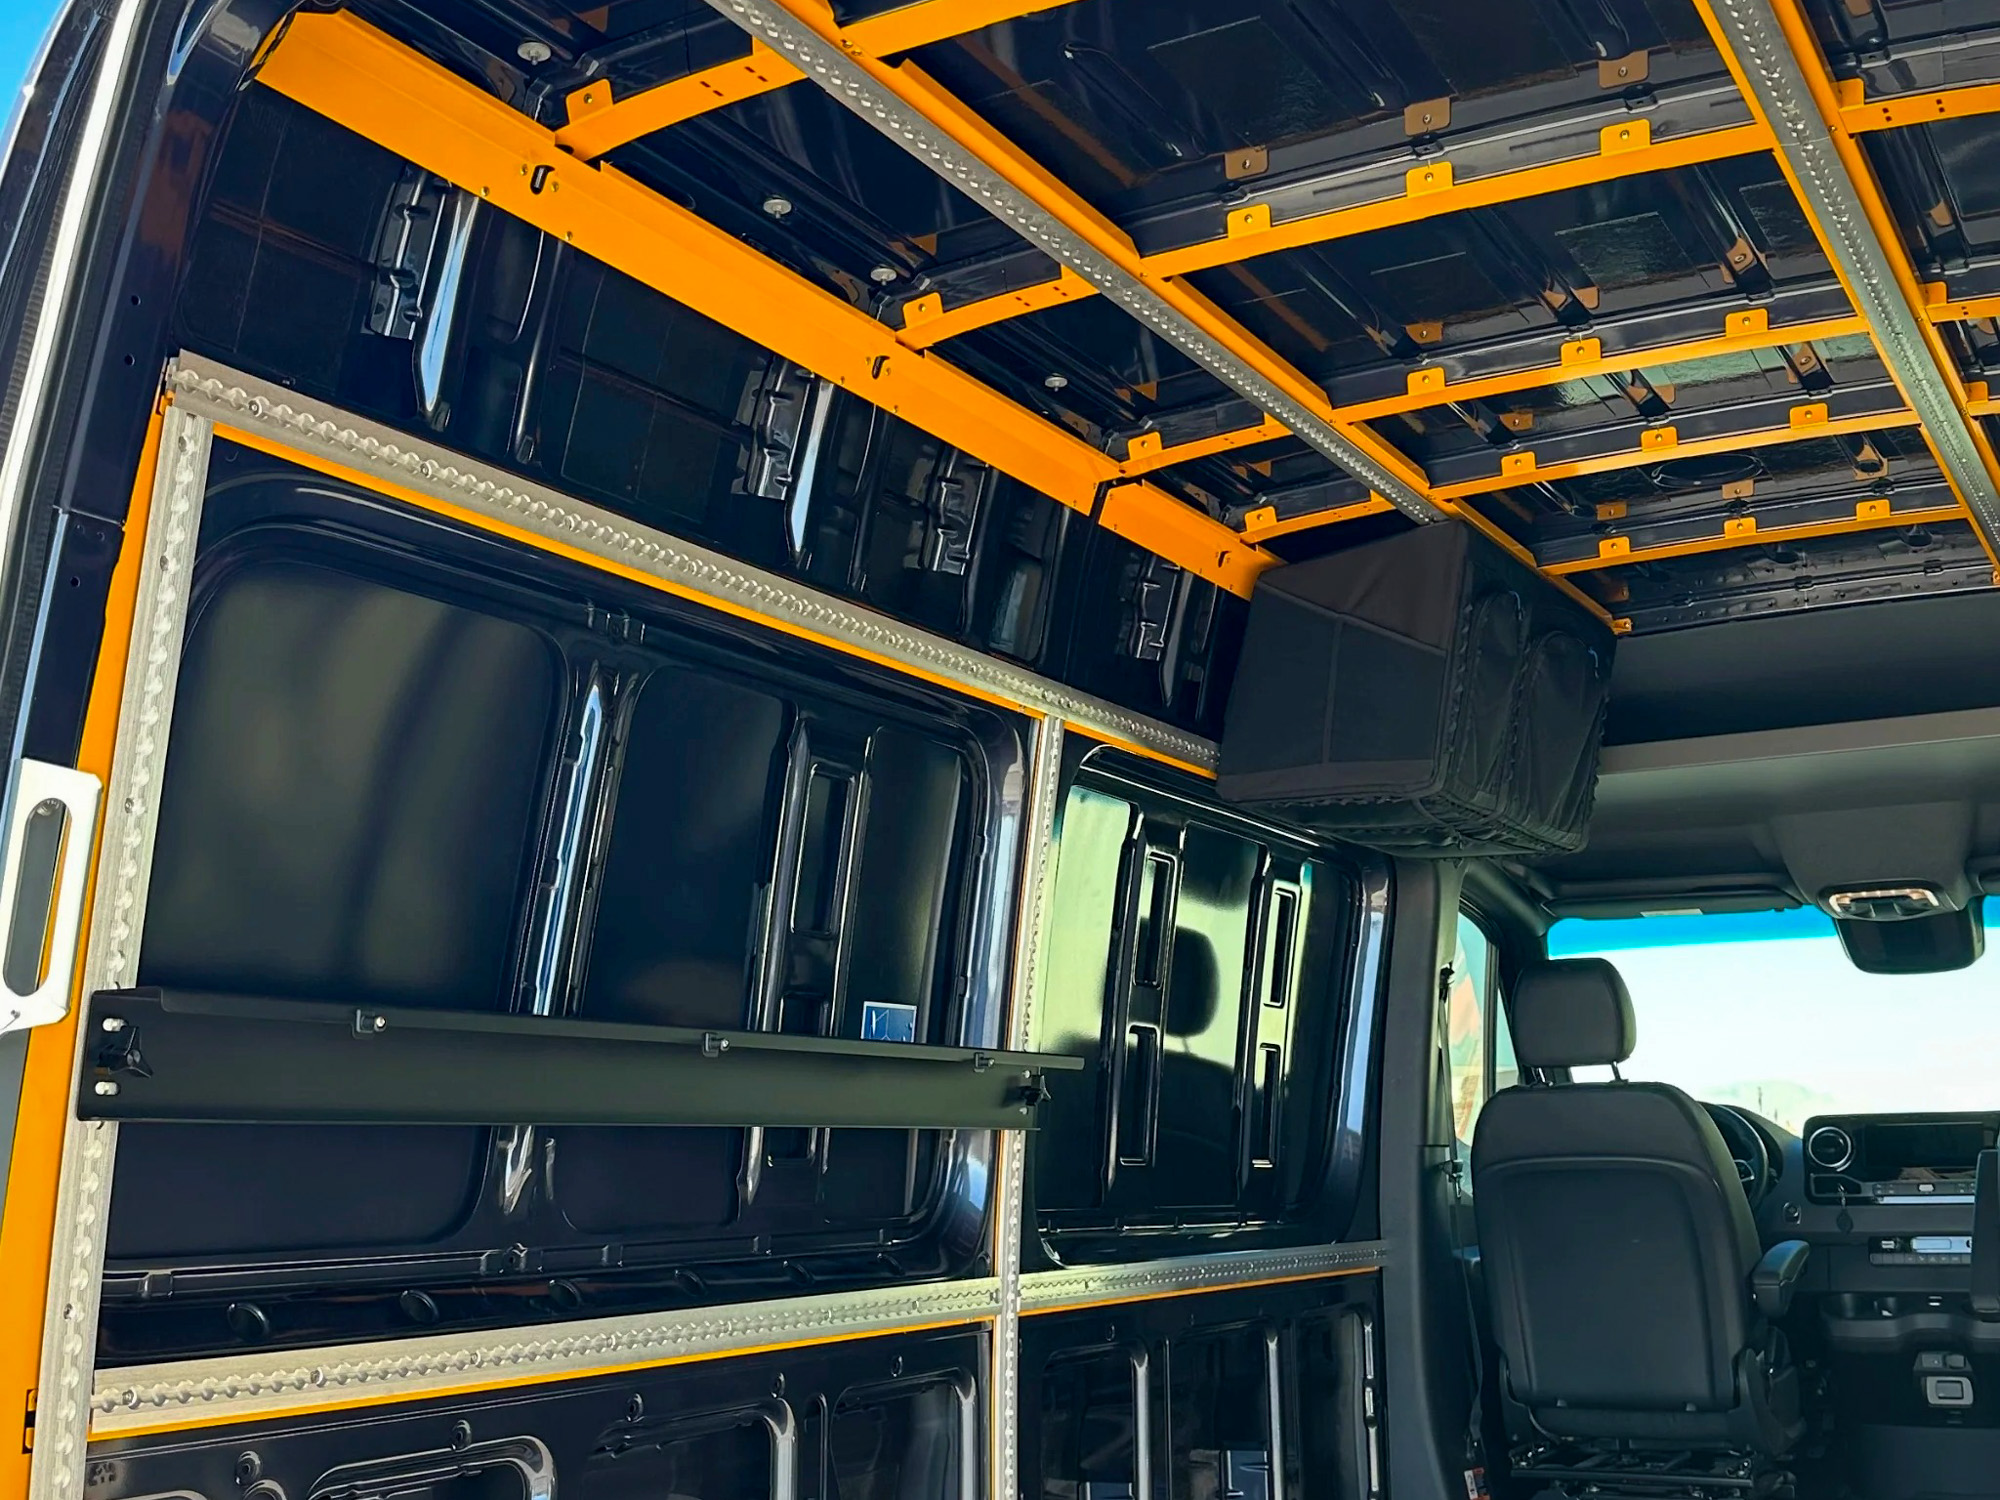
Once insulated, install the structural interior framework. This is where systems like the Lost Hiway Foundation Kit define the build. Walls, ceilings, and interior components now have set mounting points, eliminating later improvisation and unnecessary drilling. Structure always comes before furniture.
Heater Installation (Earlier Than Most People Expect)
Heaters are not accessories, and they shouldn’t be treated as add-ons. Installation requires routing air intake and exhaust, ensuring safety clearances, and providing access to the vehicle’s fuel tank.
On platforms like the Ford Transit, there are existing provisions for tapping the gasoline tank. Heater placement needs to line up with those access points, which is much easier to do before walls, cabinetry, and extra seating are installed.
Installing a heater late either compromises safety or requires undoing completed work. I learned the hard way. Not only did I think I would never need heat, but I also had to do a lot of work to get everything out of the way before mounting one. My take is that almost all campervans need a heater, and now is the time to install one.
Panels, Interior, and Final Systems

Wall and ceiling panels come next. This is the point at which access disappears, so confirm you are done with any work behind paneling before final fastening.
Interior components — bed platform, fender boxes, galley, storage benches, and cabinets — go in after panels. At this stage, everything should bolt into known mounting points. If furniture blocks access to wiring or heater components, the order was wrong earlier.
Final electrical and plumbing happen last. This is when battery systems like the EcoFlow Power Kit are installed and connected, outlets and lighting are wired, and water systems are completed. Power everything up and test it before trim hides it.
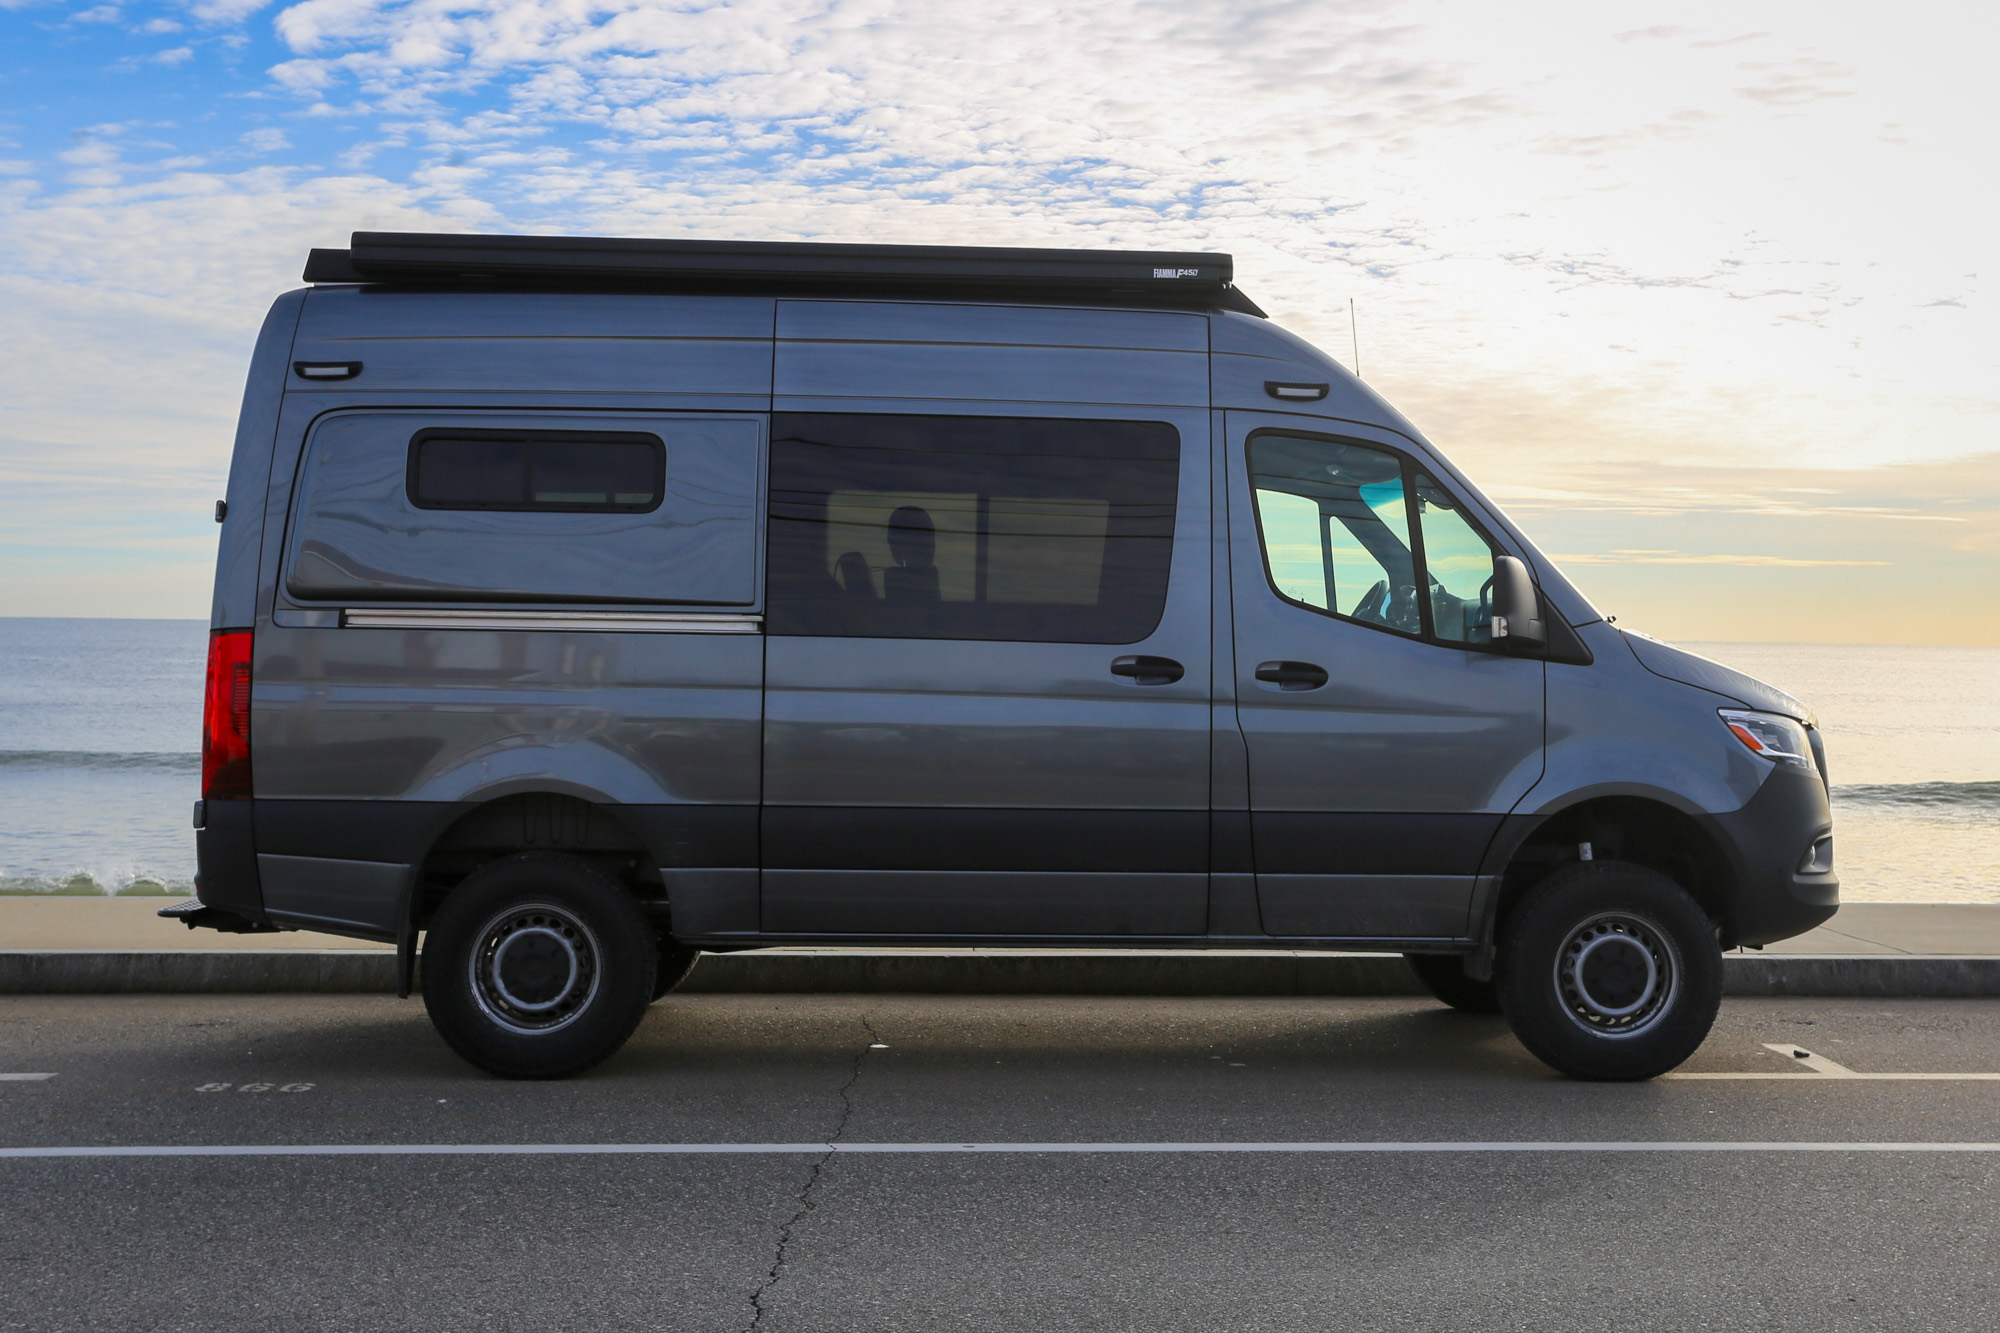
At this point, you should be super proud of yourself, and your van should look and work like a campervan, short of solar charging. You can get out in your van now!
Exterior Upgrades Come Last
Solar panels, awnings, suspension upgrades, wheels, tires, hitches, and rear accessories should never block interior progress. These are the easiest elements to add incrementally once the van is functional.
The Pattern Behind Most DIY Failures
The common thread in failed DIY builds isn’t lack of skill. It’s installing “pretty” before “functional,” treating vans like houses, and ignoring sequence. Good parts don’t save a bad install order.
What’s Next on the DIY Campervan Build
Before moving into this process myself, it’s worth saying explicitly: this build sequence — and the confidence to commit to it — comes directly from ongoing consultation with Corey at Viewpoint Campervans, who has been generous with his time, experience, and patience as I’ve worked through this build.
In the next article, I’ll break down the most intimidating step in any campervan build: cutting holes in your vehicle. That includes roof layout decisions that affect power, cooling, noise, and long-term reliability — and how to commit once without redoing work later.
Read the full article here